Hey there! As a supplier of IBC tank lids, I often get asked about how to install a ventilation valve on an IBC tank lid. It's a pretty straightforward process, but there are some key steps and things to keep in mind. So, let's dive right in and go through the whole process together.
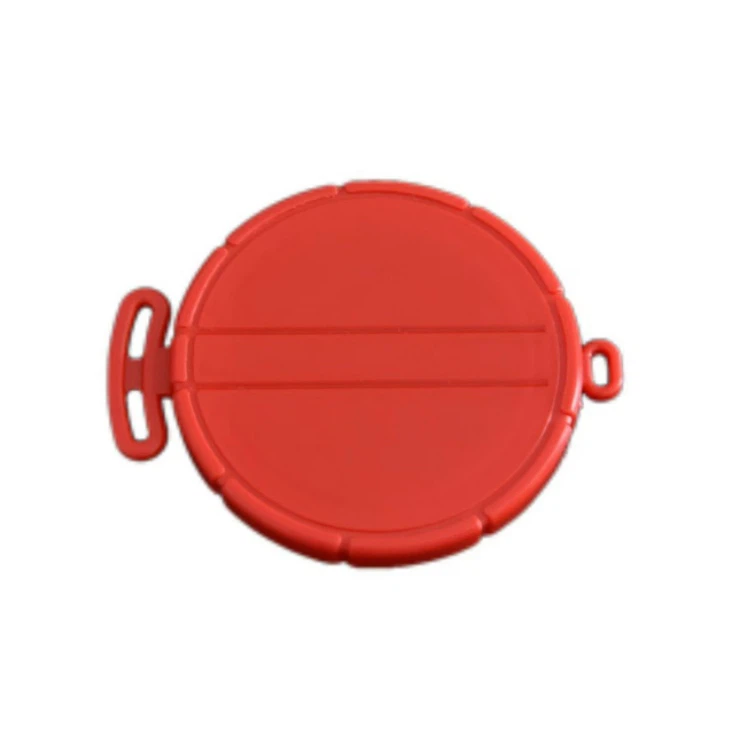
First off, let me quickly introduce some of the IBC tank lids we offer. We've got the IBC Brushed Cover, which has a nice, sleek look and is built to last. Then there's the IBC DN150 Black Breathable Cover, designed specifically for good ventilation, and the IBC Red Breathable Cover, which not only breathes well but also stands out with its bright color.
Step 1: Gather Your Tools
Before you start the installation, you'll need to gather the right tools. You'll need a drill with the appropriate drill bit for the size of the ventilation valve you're using. Usually, a standard drill bit that matches the diameter of the valve's mounting hole will do the trick. You'll also need a screwdriver, either a flathead or a Phillips, depending on the type of screws that come with the valve. And don't forget a measuring tape to make sure you drill the hole in the right place.
Step 2: Choose the Right Location
Picking the right spot on the IBC tank lid to install the ventilation valve is crucial. You want to choose a location that's away from any other fittings or openings on the lid. This will prevent any interference and ensure proper airflow. A good rule of thumb is to place the valve near the edge of the lid, but not too close so that it doesn't get damaged easily. Use your measuring tape to mark the center of the spot where you'll drill the hole. Make sure it's level and straight.
Step 3: Drill the Hole
Once you've marked the spot, it's time to drill the hole. Put on some safety goggles to protect your eyes from any debris. Insert the drill bit into the drill and make sure it's securely in place. Start drilling slowly at first, applying gentle pressure. As you go, increase the speed a bit, but keep the pressure steady. Make sure to drill straight through the lid. If you're using a thick lid, you might need to drill in stages to avoid overheating the drill bit.
Step 4: Prepare the Ventilation Valve
While the hole is being drilled, take a look at the ventilation valve. Check if it comes with any gaskets or seals. These are important as they'll help create a tight seal between the valve and the lid, preventing any leaks. If there are gaskets, make sure they're clean and free of any dirt or debris. If the valve has screws for mounting, make sure they're the right size and in good condition.

Step 5: Install the Ventilation Valve
Once the hole is drilled, it's time to install the valve. Insert the valve into the hole from the top side of the lid. Make sure it fits snugly. If there are gaskets, place them between the valve and the lid as per the manufacturer's instructions. Then, from the bottom side of the lid, use your screwdriver to attach the mounting screws. Tighten them firmly, but don't over-tighten as this could damage the valve or the lid.
Step 6: Check for Leaks
After the valve is installed, it's important to check for any leaks. You can do this by pouring a small amount of water around the base of the valve. If you see any water seeping through, it means there's a leak. In that case, you might need to loosen the screws a bit and reposition the gaskets to create a better seal. Then, tighten the screws again and check for leaks one more time.
Step 7: Test the Ventilation
Once you're sure there are no leaks, it's time to test the ventilation. You can do this by simply blowing gently into the valve. You should feel air flowing through easily. If there's any resistance, it could mean the valve is blocked or not installed correctly. Check the valve to make sure there are no obstructions and that it's properly installed.
Tips and Tricks
- Clean the Lid: Before you start drilling, clean the surface of the IBC tank lid. This will prevent any dirt or debris from getting into the tank when you drill the hole.
- Use a Template: If you're not confident in marking the spot for the hole, you can use a template. You can make a simple template out of cardboard by cutting out a circle the same size as the valve's mounting hole.
- Follow the Manufacturer's Instructions: Every ventilation valve is a bit different, so make sure to follow the manufacturer's instructions carefully. They'll have specific details about installation, torque settings, and any other important information.
Why Install a Ventilation Valve?
You might be wondering why it's so important to install a ventilation valve on an IBC tank lid. Well, there are a few good reasons. First of all, it helps regulate the pressure inside the tank. When the temperature changes, the pressure inside the tank can either increase or decrease. A ventilation valve allows air to flow in and out, equalizing the pressure and preventing any damage to the tank.
Secondly, it helps with the storage of certain substances. Some chemicals or liquids need proper ventilation to prevent the build-up of gases. A ventilation valve ensures that these gases can escape, keeping the contents of the tank safe and stable.
Wrapping Up
Installing a ventilation valve on an IBC tank lid is a relatively simple process if you follow the steps correctly. By choosing the right location, drilling the hole properly, and installing the valve securely, you can ensure that your IBC tank has good ventilation and is safe to use.
If you're in the market for high-quality IBC tank lids or ventilation valves, we're here to help. We've got a wide range of products to suit your needs. Whether you're looking for a basic lid or one with special features, we've got you covered. Feel free to reach out to us to discuss your requirements and start a procurement conversation. We're always happy to help you find the best solutions for your IBC tank needs.
References
- General knowledge about IBC tank lid installation and ventilation valve usage.
- Manufacturer's instructions for various IBC tank lids and ventilation valves.


